The following assumes you have a recent version of Chrome with developer tools installed.
Prelude
Let's begin with a review of the JavaScript code for ggvis -- specifically its interface with Shiny.
ggvis, like Shiny, communicates with the R backend through HTTP requests that are enabled by the httpuv package (originally based on the libuv C++ library). In particular, it performs some of its communication over the Websockets protocol: R and JavaScript are constantly shuffling messages back and forth to each other using an open Websockets connection.
Debugging with Chrome Developer Tools
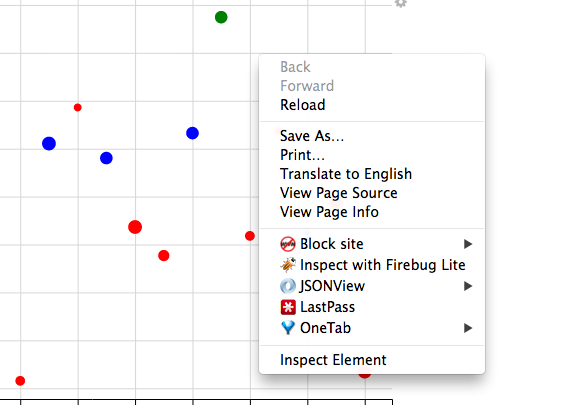
In particular, after mousing over the tooltip, open the Chrome Developer console by right clicking and selecting Inspect Element.

(If you do not see it, you may need to enable it -- Google is your friend). Next, bring up the Network tab, reload the page, mouse over a data point, and observe the contents with ttFunc2 after selecting the "websocket/" resource:

You can right click and copy the contents into a file:
{
   "custom": {
      "ggvis_message": {
         "type": "show_tooltip",
         "id": null,
         "data": {
            "pagex":    382,
            "pagey":    175,
            "html": {
               "name": "table",
               "attribs": [],
               "children": [
                [
                 {
                    "name": "tr",
                    ...
(I have truncated some of the contents). As you can notice, ggvis is receiving a message with the tooltip body, but structured as a JavaScript object. Compare this to the ttFunc1 output:
 {
  "custom": {
  "ggvis_message": {
  "type": "show_tooltip",
 "id": null,
 "data": {
  "pagex":    264,
 "pagey":    238,
 "html": "<table> <tr><td> xs </td><td> 7 </td></tr><tr><td> ys </td><td> -0.07295337 </td></tr><tr><td> color </td><td> red </td></tr><tr><td> size </td><td> 150 </td></tr></table>"
 }}}}
So the former request is receiving a Javascript object representing the HTML, the latter is receiving the raw HTML. We will see momentarily why this is so. In the meantime, notice the JavaScript code that is processing this message:
 // Tooltip message handlers
 ggvis.messages.addHandler("show_tooltip", function(data, id) {
   /* jshint unused: false */
   // Remove any existing tooltips
   $('.ggvis-tooltip').remove();

   // Add the tooltip div
   var $el = $('<div id="ggvis-tooltip" class="ggvis-tooltip"></div>')
     .appendTo('body');

   $el.html(data.html);
   ...
Ah hah! So it is using jQuery to set the HTML directly to the html element of the Websocket message. Since jQuery has never expected to interact with web-streamed output from the R htmltools package, the end result is that it receives a JavaScript object instead of a string, and the default behavior is to fail silently by displaying nothing at all.
On to the fix
Now that we have isolated our bug, we have a choice: we could fix this on the R side or the JavaScript side. I propose the former, since transforming htmltools output should really not be the job of front-end code and violates basic developer principles like modularity.
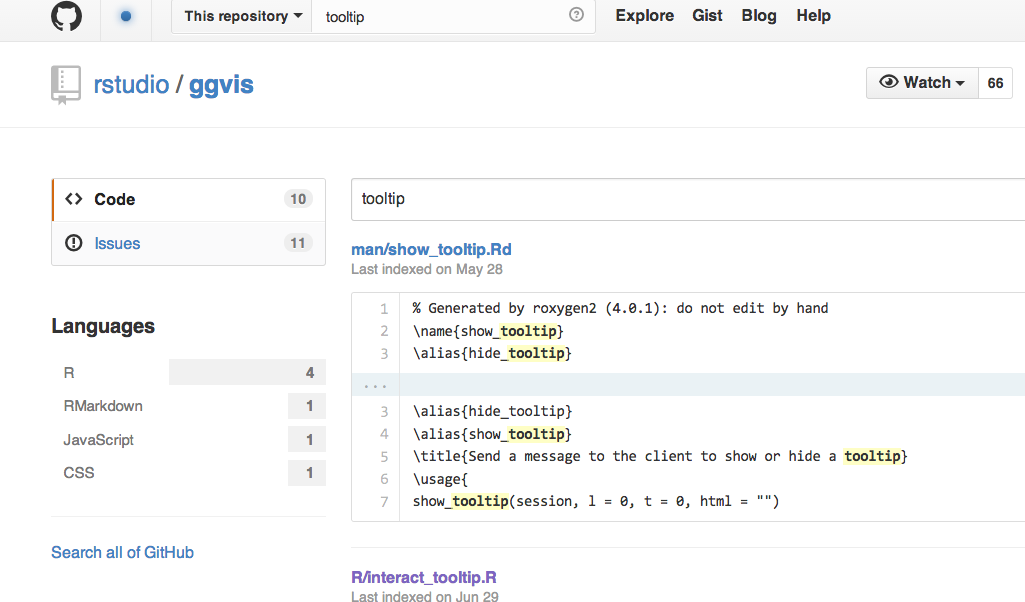
Thus, we must figure out where it is on the R side. We begin by going to the ggvis github code and searching for "tooltip" (this is useful to know -- you can search through entire codebases using Github!):

We find interact_tooltip.R and notice the function:
show_tooltip <- function(session, l = 0, t = 0, html = "") {
  ggvis_message(session, "show_tooltip",
  list(pagex = l, pagey = t, html = html))
}
The bug is that in our example, html is a shiny.tag object rather than a character. Fortunately, a shiny.tag can be converted to its representing HTML using as.character as we can test from the console:
  > as.character(tags$table(tags$tr(tags$td('test'))))
  <table>
    <tr>
      <td>test</td>
    </tr>
  </table>
so we can go ahead and fix the code:
show_tooltip <- function(session, l = 0, t = 0, html = "") {
  ggvis_message(session, "show_tooltip",
  list(pagex = l, pagey = t, html = as.character(html)))
}
Helping your friends
Now that we have found the fix, we should share it with our friends so that they can use it as well. We can do this by forking the repository on Github, and submitting a pull request (the big green button).


If you would like to use the fixed code right away without waiting for Winston to merge it, you can type
require(devtools); install_github('robertzk/ggvis')
and the correct version will be installed (but don't do this after this post is a week old, since my fork will probably be out of date). I have tested it using both ttFunc1 and ttFunc2 and their behavior is identical now.
It is OK to dig into package internals. Never be afraid!


