How does vector support work in Xcode 6?
When I try resizing an image, it looks jagged, what gives?
You can now refer to your image by its name, just as you would any .png file.
UIImage(named: "myImage")
Vector support is confusing in Xcode, because when most people think of vectors, they think of images that can scale up and down and still look good. However, Xcode 6 and 7 don't have full vector support for iOS, so things work a little differently.
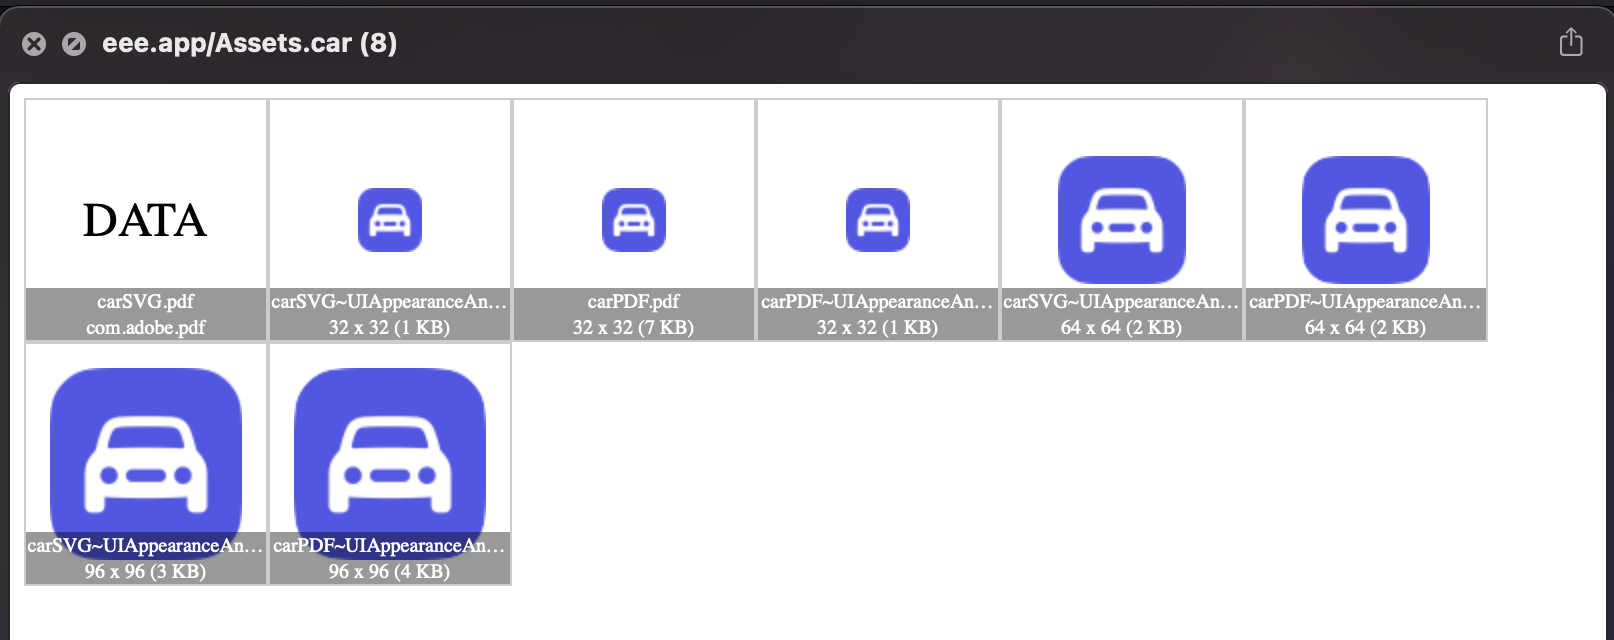
The vector system is really simple. It takes your .pdf image, and creates @1x.png, @2x.png, and @3x.png assets at build time. (You can use a tool to examine the contents of Assets.car to verify this.)
For example, assume you are given foo.pdf which is a 44x44 vector asset. At build time it will generate the following files:
[email protected] at 44x44[email protected] at 88x88[email protected] at 132x132This works the same for any sized image. For example, if you have bar.pdf which is 100x100, you will get:
[email protected] at 100x100[email protected] at 200x200[email protected] at 300x300resizableImageWithCapInsets: and dividing your slice values by [UIScreen mainScreen].scale
Commented
Oct 7, 2014 at 14:19
CGFloat scale = [UIScreen mainScreen].scale; UIImage *image = [[UIImage imageNamed:@"my_unsliced_asset"] resizableImageWithCapInsets:UIEdgeInsetsMake(10 * scale, 11 * scale, 12 * scale, 13 * scale)];
This is a supplement to the excellent answer by @Senseful.
I will tell how to do this in Inkscape since it is free and open source but other programs should be similar.
In Inkscape:
Notes:
If you already have an .svg image that is the wrong page size, do the following:
To convert an .svg file into a .pdf you can also find online utilities to do the job for you. Here is one example from this answer. This has the benefit of allowing you to set the .pdf size easily.
For those who still not updated, there were changes in Xcode 9 (iOS 11).
What’s new in Cocoa Touch (WWDC 2017 Session 201) (@32:55) https://developer.apple.com/videos/play/wwdc2017/201/
In few words, Asset Catalog now includes the new checkbox in Attributes Inspector named “Preserve Vector Data”. When checked, PDF data will be included in the compiled binary, increasing its size of course. But it gives a chance for iOS to scale the vector data in both directions and provide nice images.(With its own difficulties). For iOS below 11, old scaling mechanisms described in answers upwards is used.
Xcode image types
1. Raster image .png
scale factor @1x, @2x, @3x
As a developer you are responsible for setting .png into corresponding factor
Official doc - Image Size and Resolution
2. Vector image .pdf and .svg
Vector PDF(Portable Document Format) Not all pdf files are vector files.
single scale; Build time; vector PDF -> PNG(@1x, @2x, @3x);Preserve Vector Data; Run time; Dynamic scaleSVG(Scalable Vector Graphics)
Preserve Vector Data; Run time; Dynamic scaleDiff
Experiments
If you create a project and build it (not only for specific device - Any iOS device) with .pdf and .svg file you will see that they work at the same manner
Preserve Vector Data and Individual scales (NOT Single scale) the result will be Dynamic scalePreserve Vector Data off and on


Generated files

You can use normal PDF files inside your project as Vector images and render images of any size using this extension. This way is way better because iOS will not generate .PNG images out of your PDF files, plus you can render you images with any size you want:
    extension UIImage {

    static func fromPDF(filename: String, size: CGSize) -> UIImage? {
        guard let path = Bundle.main.path(forResource: filename, ofType: "pdf") else { return nil }
        let url = URL(fileURLWithPath: path)
        guard let document = CGPDFDocument(url as CFURL) else { return nil }
        guard let page = document.page(at: 1) else { return nil }

        let imageRect = CGRect(x: 0, y: 0, width: size.width, height: size.height)
        if #available(iOS 10.0, *) {
            let renderer = UIGraphicsImageRenderer(size: size)
            let img = renderer.image { ctx in
                UIColor.white.withAlphaComponent(0).set()
                ctx.fill(imageRect)
                ctx.cgContext.translateBy(x: 0, y: size.height)
                ctx.cgContext.scaleBy(x: 1.0, y: -1.0)
                ctx.cgContext.concatenate(page.getDrawingTransform(.artBox, rect: imageRect, rotate: 0, preserveAspectRatio: true))
                ctx.cgContext.drawPDFPage(page);
            }

            return img
        } else {
            // Fallback on earlier versions
            UIGraphicsBeginImageContextWithOptions(size, false, 2.0)
            if let context = UIGraphicsGetCurrentContext() {
                context.interpolationQuality = .high
                context.setAllowsAntialiasing(true)
                context.setShouldAntialias(true)
                context.setFillColor(red: 1, green: 1, blue: 1, alpha: 0)
                context.fill(imageRect)
                context.saveGState()
                context.translateBy(x: 0.0, y: size.height)
                context.scaleBy(x: 1.0, y: -1.0)
                context.concatenate(page.getDrawingTransform(.cropBox, rect: imageRect, rotate: 0, preserveAspectRatio: true))
                context.drawPDFPage(page)
                let image = UIGraphicsGetImageFromCurrentImageContext()
                UIGraphicsEndImageContext()
                return image
            }
            return nil
        }
    }

}